A Guide to Terra Plaster-Paints
-
Step 1: Prepare Your Materials
• Choose your desired Terra clay powder and a clean container.
• Have a brush, spoon, or other tools ready for mixing.
• Optional: Choose any extra colors to mix into your Terra paint.
-
Step 2: Mixing the Paint
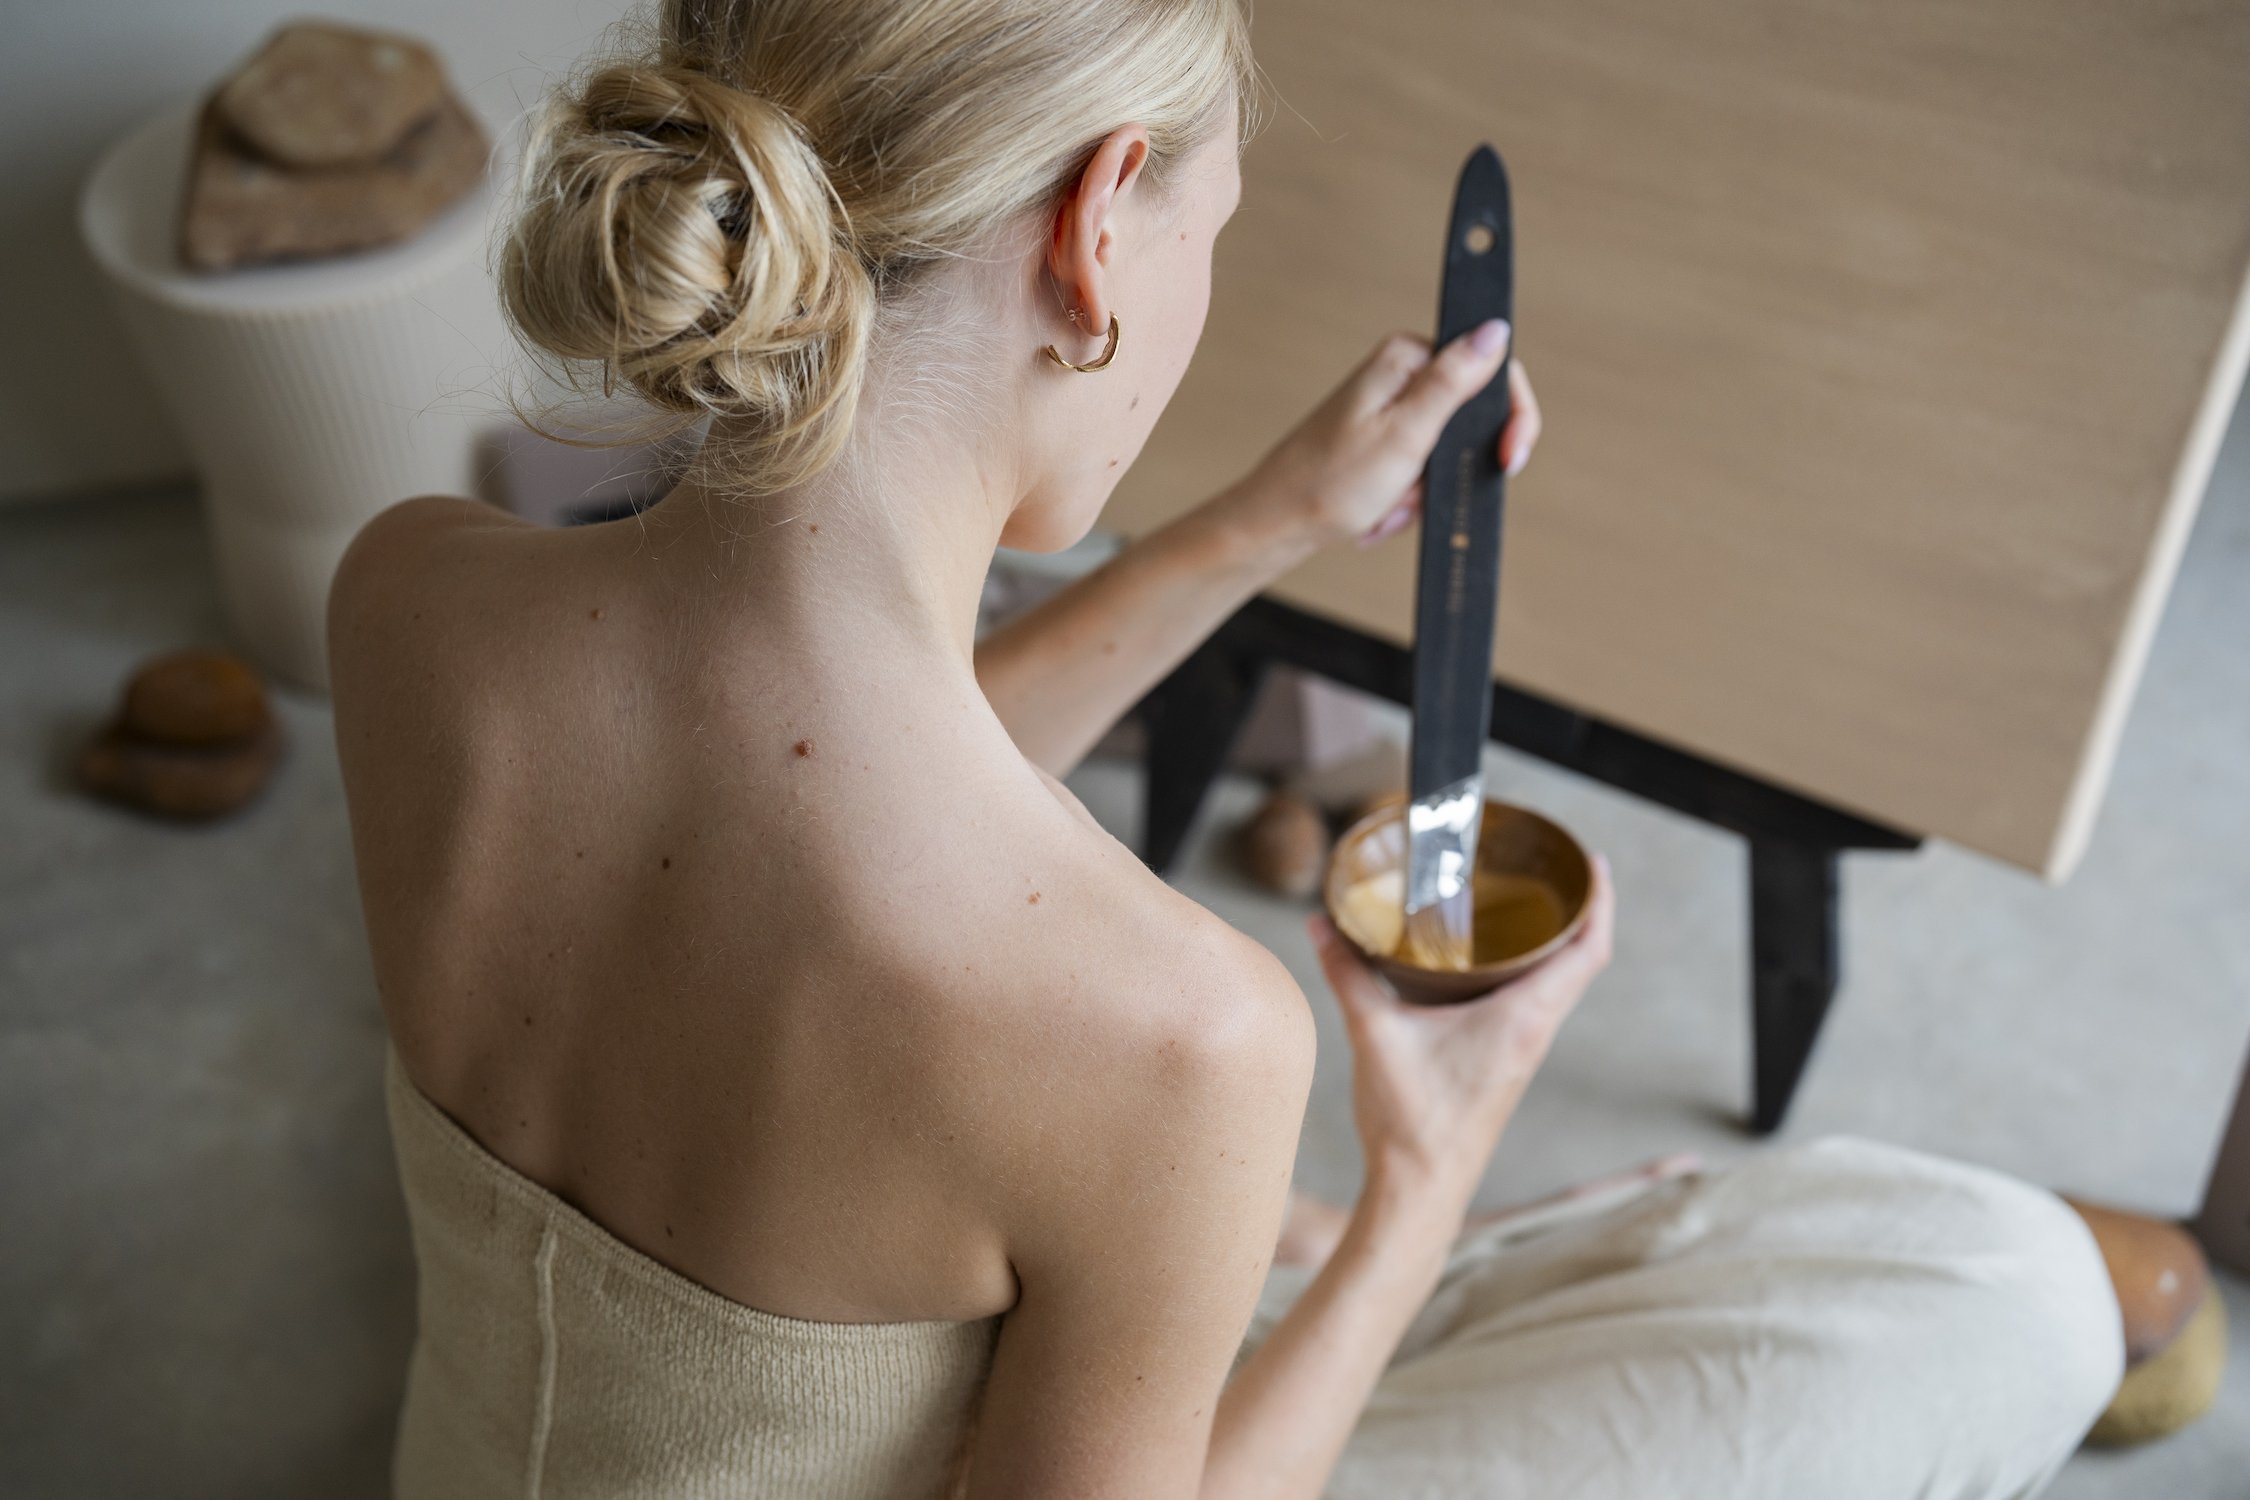
• Pour clay powder into your container (just a portion to start).
• Slowly add water while stirring to achieve the desired consistency.
For paint: Aim for a smooth, spreadable texture, like creamy yogurt.
For structure paste: Make it thicker, like soft plaster.
• If the mixture is too liquidy, add more powder.
• If it's too thick, add extra water.
• Ensure the mixture is smooth and lump-free.
-
Step 3: Experimenting with Colors
Mixing Colors:
• You can mix different Terra colors by combining dry powders or adding them to the wet paint.
• Experiment with color blending until you achieve the desired shades.
-
Step 4: Other Uses & Techniques
Watercolor Effect:
• You can mix the paint into a more liquid form and pour it onto the canvas. This creates a watercolor-type art effect, where the paint will flow and blend naturally.
• Adjust the amount of water to control the flow and transparency of the paint.
-
Step 5: Ready to Create!
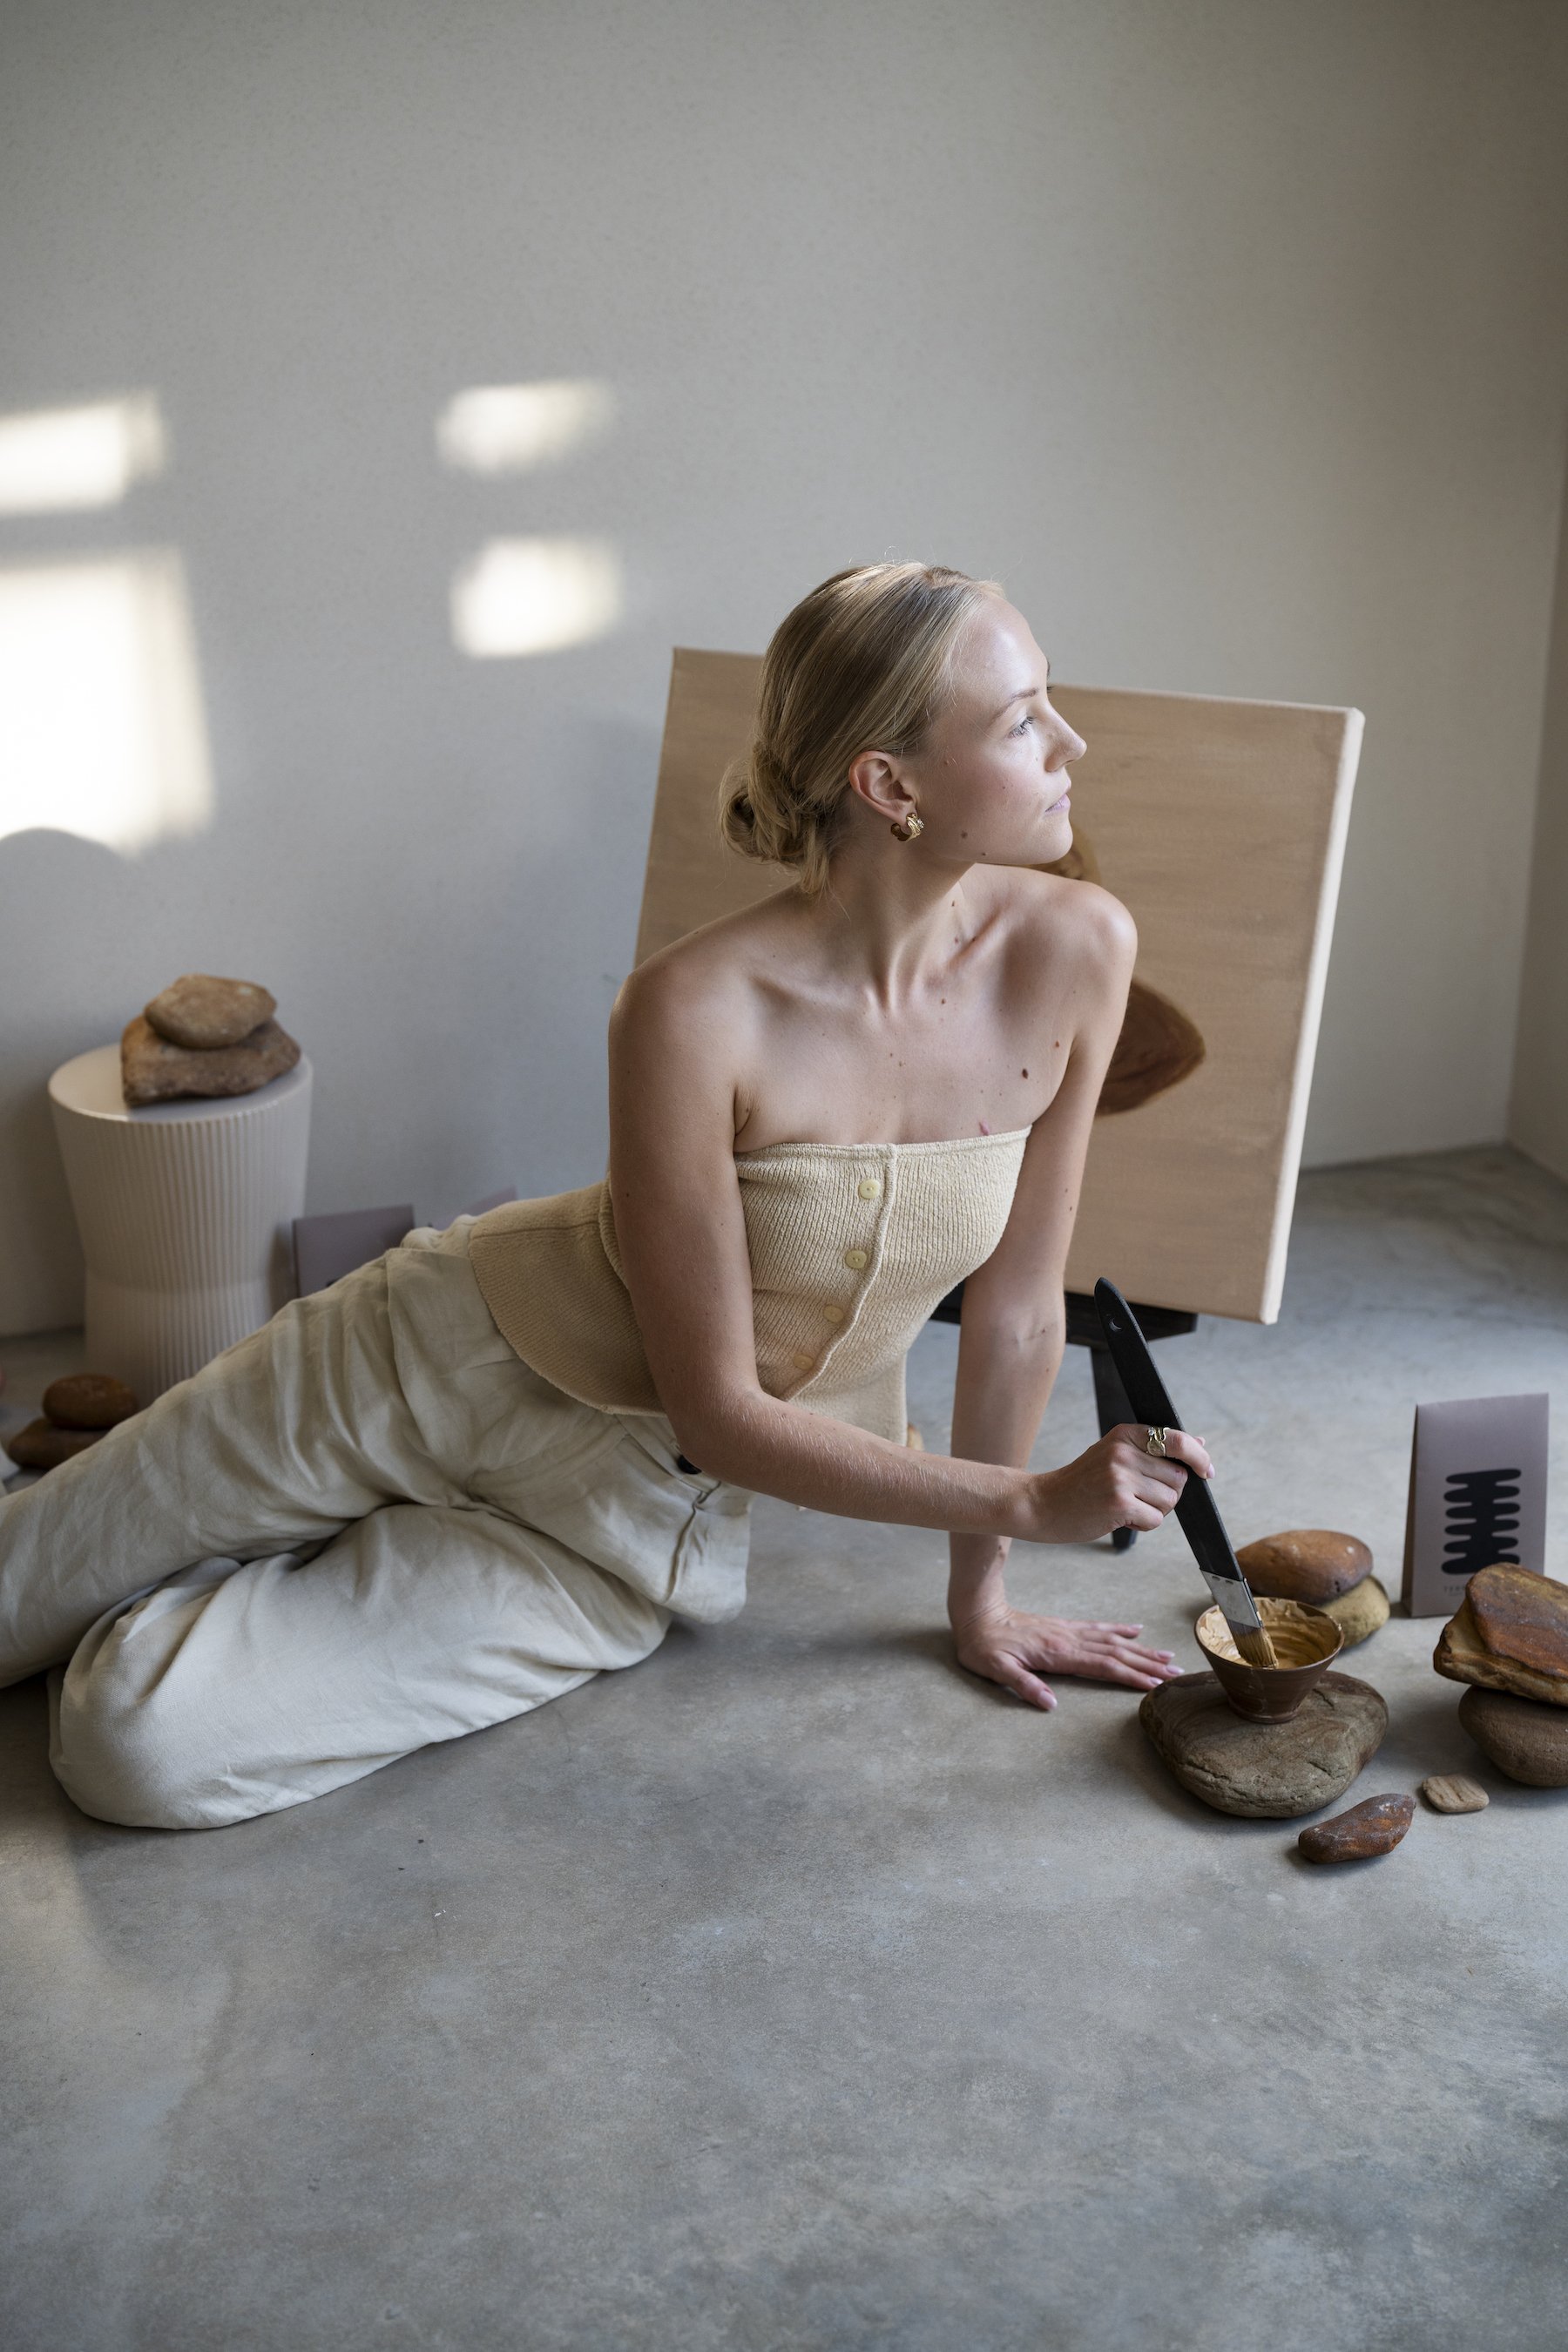
• Once your paint is mixed to your liking, start painting or applying it to your desired surface.
• Enjoy the process—there’s no right or wrong way to create.
Tools
-
Brush
Palette knives
Trowel
Spatula
Sponge
-
Moss
Wooden sticks
Fallen leaves
Stones
Grass or hay (tie your own brush)
-
Feathers
Cork pieces
Sea shells or coral fragments
Cardboard scraps for scraping textures
String or rope dipped in paint for dragging patterns
-
Take your creative journey outdoors! Let nature inspire your art by experimenting with tools found in your environment. Creativity has no rules—each step reveals something new and magical. Let your imagination fly.
Canvas
This plaster-paint works beautifully on most types of canvases. Whether you’re stretching your own canvas or using pre-prepared stretched canvases, canvas boards, or heavy paper, the choice is yours. Think about where and how you want to display your artwork—would you like it framed, or are you simply enjoying the creative process in the moment?
However, it’s important to avoid glossy, non-absorbent, or non-porous surfaces like glass, plastic, or metal, as the paint may peel off even if it initially sticks. Choosing the right surface ensures your art will last and reflect your creativity at its best.
SURFACE THICKNESS
For Fluid Paint:
If you’re working with a more fluid mixture, we recommend painting layer by layer, allowing each layer to fully dry before applying the next. This ensures better adhesion and prevents uneven drying.
For Thicker Plaster:
When using a thicker mixture applied with tools like palette knives, you can build multiple layers at once. However, we suggest keeping the total thickness of the layers to around 3–4mm. Once dry, you can always add additional layers for refinement.
For Very Thick Layers:
If you wish to apply a thick layer in one go, we recommend testing it first on a small surface. Let it dry and evaluate the result before proceeding with your final artwork.
Natural Cracking:
Because clay is a natural material, cracks may develop as the paint dries. This is perfectly normal and part of the material’s beauty—it reflects the living, organic nature of clay and its connection to the earth.

Preservation & Cautions
Please keep out of reach of children. Wet paint leftovers can be stored in sealed containers and kept clean for at least half a year. Dry powder can be stored for several years. Materials that have dried or are not in use can be disposed of as general garbage. It is recommended to wash the tools after each use, and wring and spin them dry before use. Since the paint will precipitate, please stir it before using again.


